Nisus Writer Pro offers you a number of ways to save your work. The application can do this automatically or you can do it manually.
Save files in Nisus Writer Pro
☞ Note: The Mac system handles all saving of your files. If you open a new file and start typing the OS will save the contents as “Untitled (#)” until you close the file. When you do close the file you will be prompted to save the file in a particular location and give it a name.
Save your file and give it a name
1. Choose the menu command: File > Save As….
2. Type the name you want to use for the file in the Save As text edit box at the top of the document.
3. Navigate through your folders to find the location where you want to save the file.
4. (Optionally) choose the file format in which you want to save the file from the pop-up menu at the bottom of the dialog. (The standard and preferred format is Rich Text Format (RTF). You can learn more about the various formats in which Nisus Writer Pro can save your files in the section “Formats and encoding of saved files” on page 603.
Save your file after making changes
Nisus Writer Pro files are automatically and regularly saved by macOS. When, and how frequent this saving occurs is handled entirely by macOS, not Nisus Writer Pro. In addition, you can also initiate saving a file yourself.
► Choose the menu command: File > Save.
Save your file with a new name and/or in a new location
Nisus Writer Pro files can be renamed and moved from the Title bar.
1. Click the file’s name in the Title bar.
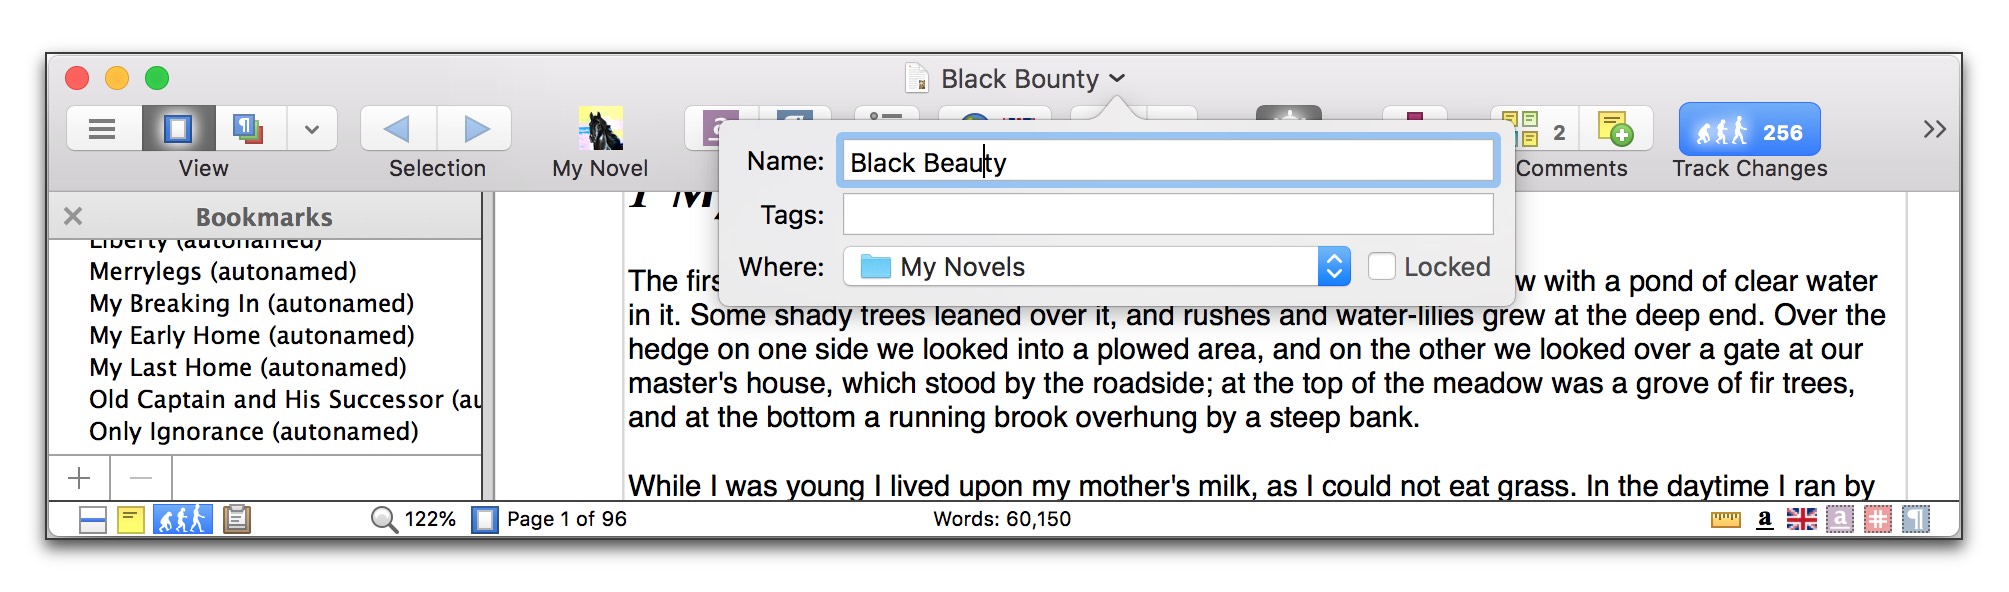
A small sheet opens as illustrated in Figure 11.
Figure 11
Renaming the novel “Black Bounty” to its new working title “Black Beauty”
2. Enter the name you want to use in the Name field.
3. Add a tag if you want in the Tags field.
4. If you also wish to move the file, choose a location from the pop-up menu in the Where field.
5. Press ⏎ or click anywhere outside the sheet to close it and accept the changes.
► As an alternative, follow the instructions in “Save your file and give it a name”.
Prevent changes from being saved
Nisus Writer Pro files can be renamed and moved from the Title bar.
1. Click the file’s name in the Title bar.
A small sheet opens as illustrated in Figure 11.
2. Click the Locked box in the lower right corner of the sheet.
3. Press ⏎ or click anywhere outside the sheet to close the sheet and accept the changes (i.e. locking the file).
The file is now “read only”.
You should not have to worry about saving your work. Nisus Writer Pro works with the System to save your files automatically.
If your file is autosaved in this manner, the first time it is saved, Nisus Writer Pro assigns a name for the file based on the content at the beginning of the document and saves it in your default autosave location.
For more information about automatic and backup saving of files in Nisus Writer Pro see the section “Saving Preferences” on page 599.
| Previous Chapter Modify the Appearance of Your File |
<< index >> |
Next Chapter Print Your File |