Nisus Writer Pro can display your text in columns. All of Nisus Writer Pro’ columns are what are known as “snaking columns.” This means that the column text continues from the bottom of one column to the top of the next (i.e. not “independent”).
Columns are set on a per-section basis. The Nisus New File is a one-column document. Each section of a document can have only one column format. Therefore, if you want a document that begins with one column then has two columns and at the end has one column once again, your document must have three sections.
☞ Columns only display in Page View, not Draft View, Full Screen, or Style Sheet view.
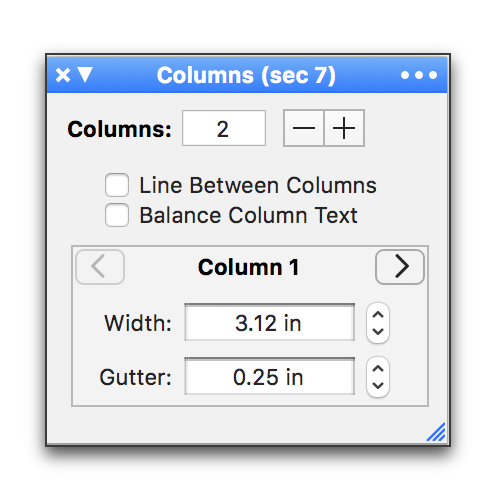
Figure 159
The Columns palette
2. Type the number of columns you want your document, or section, to have in the Columns field at the top and press ⏎, or, click the Minus (-) button or the Plus (+) button to decrease or increase the number of columns.
Nisus Writer Pro can draw a line between your columns.
2. Click Line Between Columns.
Nisus Writer Pro allows you to set a different column width as well as gutter width between each column.
1. Click the forward or backward button to decide which column you want to modify.
The number of the column appears at the top of the bottom half of the Columns palette. This is not the column in which your insertion point appears.
2. Click the up-pointing or down-pointing triangle in the “stepper” to the right of Width or Gutter to increase or decrease those settings accordingly.
☞ Press ⌘ when you click a palette stepper’s up or down arrow to apply the shown value uniformly to all selected text, instead of adjusting all selected values independently.

Figure 160
Column text balanced
☞ The gutter controlled is that to the right of the column indicated in the palette. So, in the document illustrated in Figure 160 above the .25 inch gutter refers to the space between the second and third columns.
Nisus Writer Pro can balance the amount of text in the columns of the last page of your document as illustrated in Figure 160 above.
| Previous Chapter Set Paper Size and Margins |
<< index >> |
Next Chapter Use the Page Borders palette to put a line around the edge of your page |