Once you have found the next change in your document you can either accept it or reject it.
You can accept a specific change: Accept or reject changes
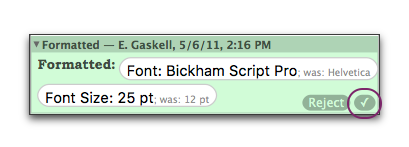
► Click the ✓ “Check mark” Accept button to the right sides of the change annotation as illustrated in Figure 472.
Figure 472
A change annotation showing formatting changes with the check to accept highlighted
You can accept all the changes in your selection:
► Choose the menu command: Tools > Track Changes > Accept Changes in Selection.
You can accept all changes:
► Choose the menu command: Tools > Track Changes > Accept All Changes….
When you choose either Accept Changes in Selection or Accept All Changes…, an alert appears indicating how many changes will be affected as illustrated in Figure 473.
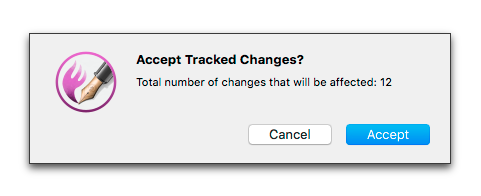
Figure 473
The Accept Tracked Changes alert
You can reject a specific change:
► Click the Reject button to the right side of the change annotation as illustrated in Figure 472.
☞ The Reject button only appears when your pointer hovers over the individual change.
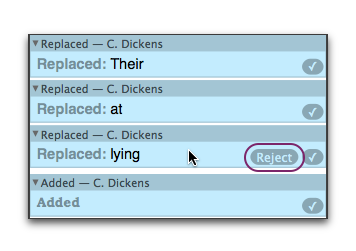
Figure 474
Four change annotations showing text changes with the Reject button highlighted
You can reject all the changes in your selection:
► Choose the menu command: Tools > Track Changes > Reject Changes in Selection.
You can reject all changes:
► Choose the menu command: Tools > Track Changes > Reject All Changes….
When you choose either Reject Changes in Selection or Reject All Changes…, an alert appears indicating how many changes will be affected as illustrated in Figure 475.
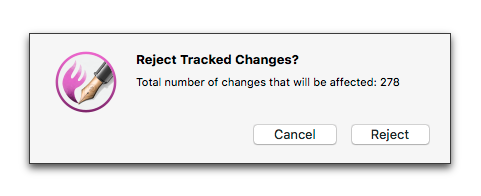
Figure 475
The Reject Tracked Changes alert
Review, accept and/or reject changes in one window
You can have Nisus Writer Pro help you scan your document for changes. You can do this with Tracking Changes turned on or off, and with the Tracked Changes sidebar or split view, and/or highlights visible or not.
1. Choose the menu command: Tools > Track Changes > Review Changes….
The Review Changes window opens as illustrated in Figure 476.
2. Choose the editor whose changes you want to review.
You can choose All Authors or any of those who have made changes to the document as explained in “Determine which author’s changes display” on page 531.
You do not need to make any decisions. You can simply review the changes made.
3. Determine whether Nisus Writer Pro scans your document and displays the changes along with the sentence or paragraph in which they appear.
► Check (turn on) Batch by and choose Sentence to have Nisus Writer Pro select the entire sentence in which a particular change appears.
► Check (turn on) Batch by and choose Paragraph to have Nisus Writer Pro select the entire paragraph in which a particular change appears.
► Uncheck (turn off) Batch by to have Nisus Writer Pro select only the changed text itself.
☞ Batching does more than select more content. It allows you to see the effect of (and accept or reject) multiple changes all at once.
4. Click Previous or Next to see each change made.
The change, and (if Batch by is on) the surrounding sentence or paragraph appears in the Track Changes display box labeled Original with the change indicated.
5. Determine whether or not you want the changes highlighted in the Review Changes window.
► Check (turn on; the default) Highlight changes to highlight the changes.
► Uncheck (turn off) Highlight changes so that the highlights do not display.
6. Determine whether or not you want to see what change was made, or display only the original text.
► Check (turn on; the default) Markup additions and deletions to display the changes as indicated in step 4.
► Uncheck (turn off) Markup additions and deletions so that the changes are hidden, but only the original text displays.
• Text that has been removed appears in red and strike through.
• Text that is added appears in blue
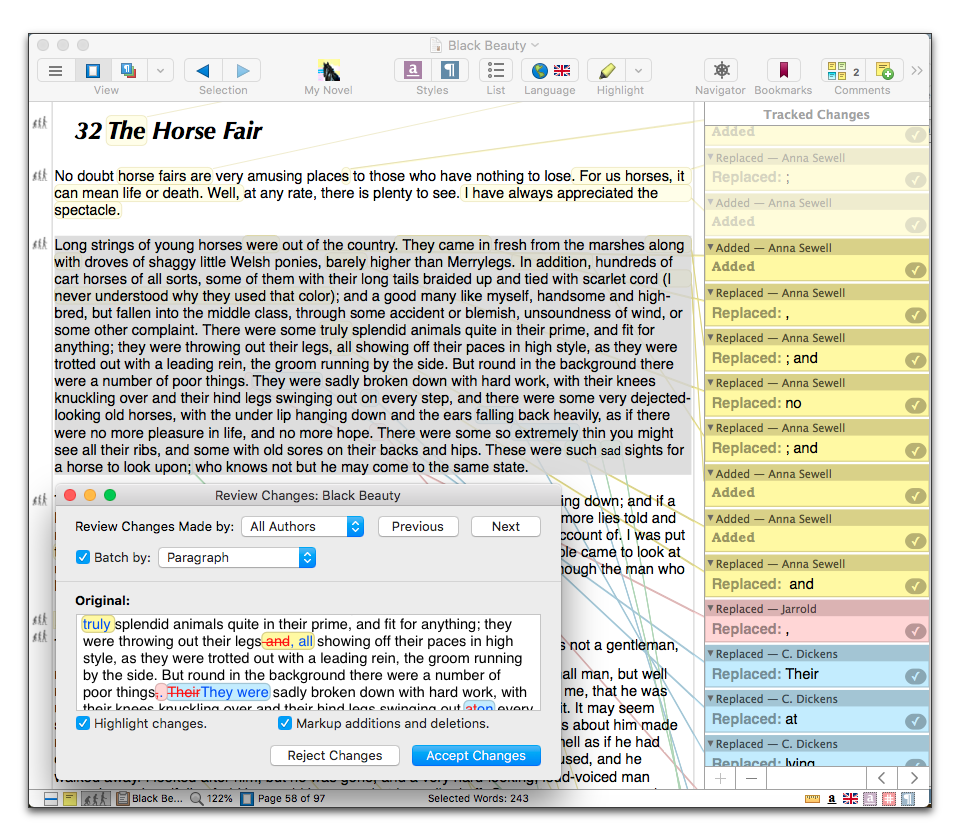
Figure 476
The Review Changes window scanning the changes made to Black Beauty
7. When you have reviewed the changes,
◦ Click Accept Changes to accept all the changes in the selection (either the sentence or the paragraph depending on what you selected in step 3 above).
◦ Click Reject Changes to reject all the changes in the selection (either the sentence or the paragraph depending on what you selected in step 3 above).
Each time you accept or reject changes the number badge in the Track Changes button on the Toolbar decreases by however many changes there were in the selection.
When you click Reject Changes or Accept Changes, the warning alert illustrated in Figure 473 on page 540 does not appear. You can, however undo this action.
The following four figures illustrate the different options explained in steps 5 and 6 above.
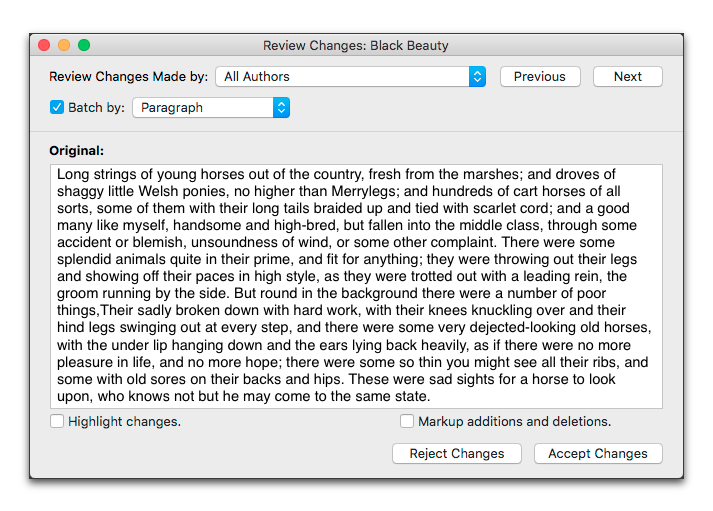
Figure 477
Neither Highlight changes nor Markup additions and deletions checked
• Figure 477: Neither Highlight changes nor Markup additions and deletions checked; displays only the modified text.
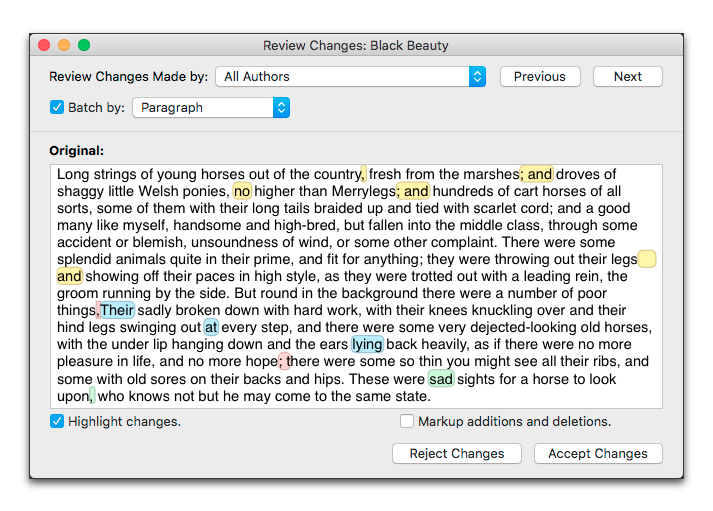
Figure 478
Highlight changes turned on but Markup additions and deletions unchecked
• Figure 478: Highlight changes turned on but Markup additions and deletions unchecked; displays the modified text in the highlights of the authors who made them.

Figure 479
Highlight changes turned off but Markup additions and deletions turned on
• Figure 479: Highlight changes turned off but Markup additions and deletions turned on; displays the original text and changes made. Text that has been removed appears in red and strike through. Text that is added appears in blue.
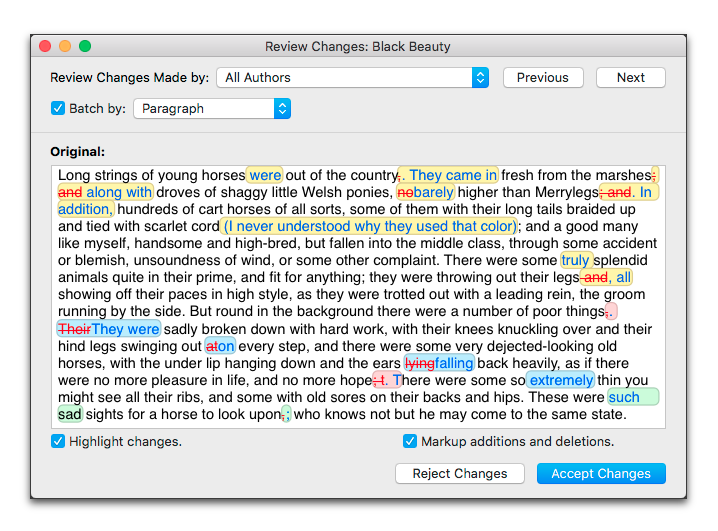
Figure 480
Both Highlight changes and Markup additions and deletions checked
• Figure 480: Both Highlight changes and Markup additions and deletions checked: displays the original text and the changes made as well as the highlights of the authors who made them.
| Previous Chapter View and review tracked changes |
<< index >> |
Next Chapter Select text and word count in all tracked changes |