Create Your Own Group of Palettes for the Palette Dock
1. Choose the menu command: View > Palettes > Customize Palette Dock….
2. Click the + Add Group button beneath the Palette Groups pane.
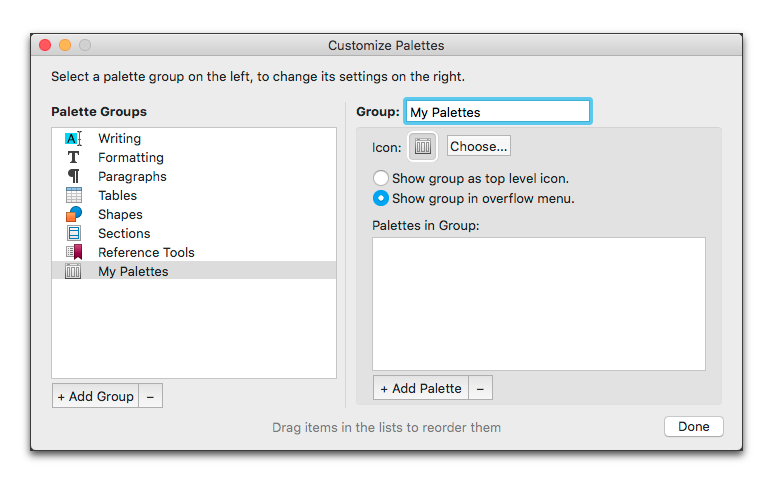
3. Give the new group a name as illustrated in Figure 538.
Nisus Writer Pro supplies a generic icon for your palette group. If you want you can change that using the same process as described for creating a custom button on the Toolbar in the section: “Create a custom Toolbar item” on page 612.
Figure 538
Adding a palette group
1. Click either the Show group in overflow menu or Show group as top level icon radio button as explained in the section “Determine which and how many Palette Group icons appear at the top of the Dock” on page 623.
2. Click the + Add Palette button beneath the Palettes in Group pane to add palettes to the group as explained in the section “Add a palette to a group” on page 625 until you are satisfied as illustrated in the example in Figure 539.
3. When you are satisfied, click Done.
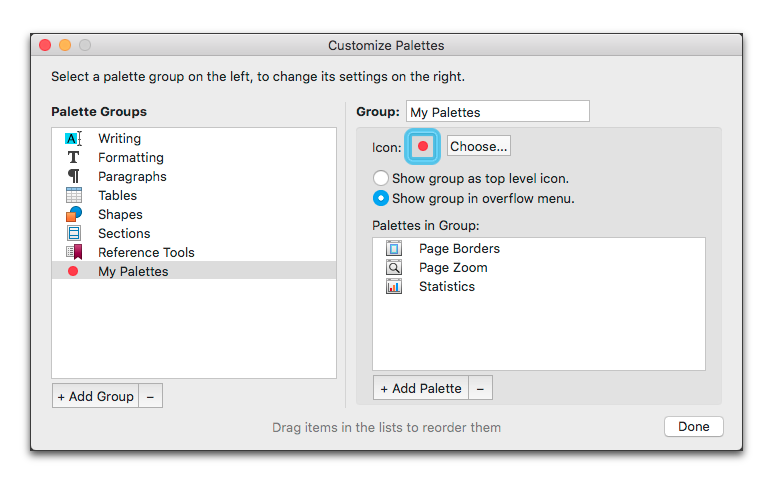
Figure 539
Adding palettes to a custom palette group
☞ You can delete any palette group by clicking the - beneath the Palette Groups pane.
The result of the above procedure is illustrated in Figure 540.
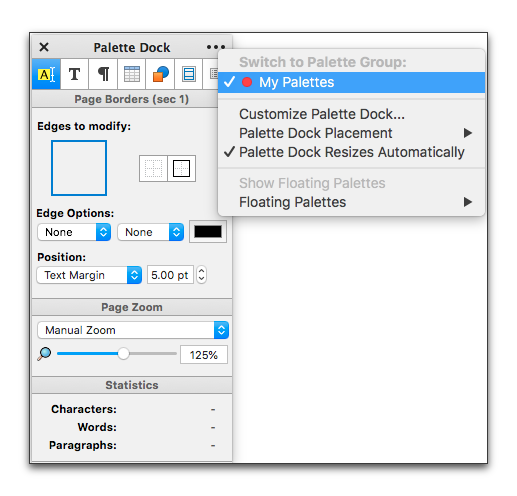
Figure 540
A customized palette group
| Previous Chapter Add/subtract/rearrange and/or modify the names of specific palettes in their various groups |
<< index >> |
Next Chapter Macros, an Introduction |