You can associate almost any Nisus Writer Pro command with an icon of your choosing and add it to the Toolbar. In this way you can active any command from the toolbar with a single click. This includes individualized commands like macros from the Macro menu, or files and folders from the Document Manager area of the File menu.
You can even add custom toolbar items that contain multiple commands in a pop-up menu. You do that with a custom toolbar item group, or by adding a custom item that’s based on a menu with submenus. For example: add a custom toolbar item for the menu File > Open Recent; clicking such an item will display a list of recently opened files.
To add a custom item to your Toolbar you first need to create it:
1. Choose the menu command: View > Toolbar > Add Custom Toolbar Item….
The dialog illustrated in Figure 528 opens.
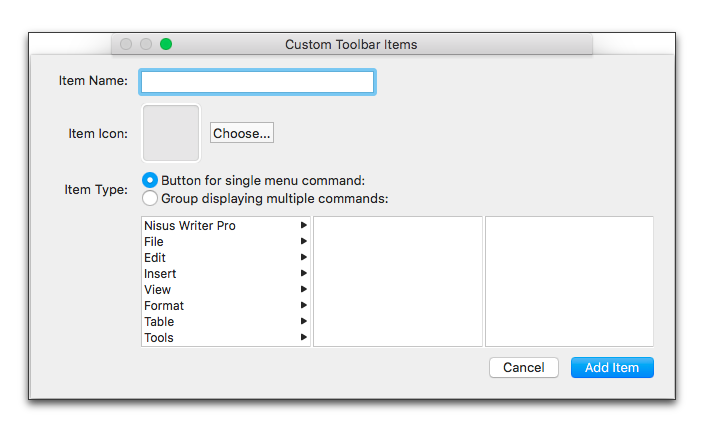
Figure 524
The Custom Toolbar Items dialog when it first opens
1. In the Item Name field, give the item a name.
This can be either the name of the original Nisus Writer Pro command or any text you want to use.
2. Give the item an image by either…
▷ drag an image into the Item Icon field from the Finder,
▷ paste an image into the Item Icon field from the Clipboard,
3. If you click Choose…,
▷ Select from any of the icons used in Nisus Writer Pro from the Choose Image portion of the dialog that appears, as illustrated in Figure 525.

Figure 525
The Choose Image portion of the Custom Toolbar Items dialog
▷ Click Use Emoji… which opens Apple’s Character Viewer and enables you to use any of the emoji or other characters available there.
☞ If you click Use Emoji…, the Apple Character Viewer opens. You can select from any of the various sets of characters available. Be sure to double-click only the characters in the third column from the left and not the large image, as illustrated in Figure 526. If you decide you want to change the image you need to close the Character Viewer, delete the item icon and click Use Emoji… once again.
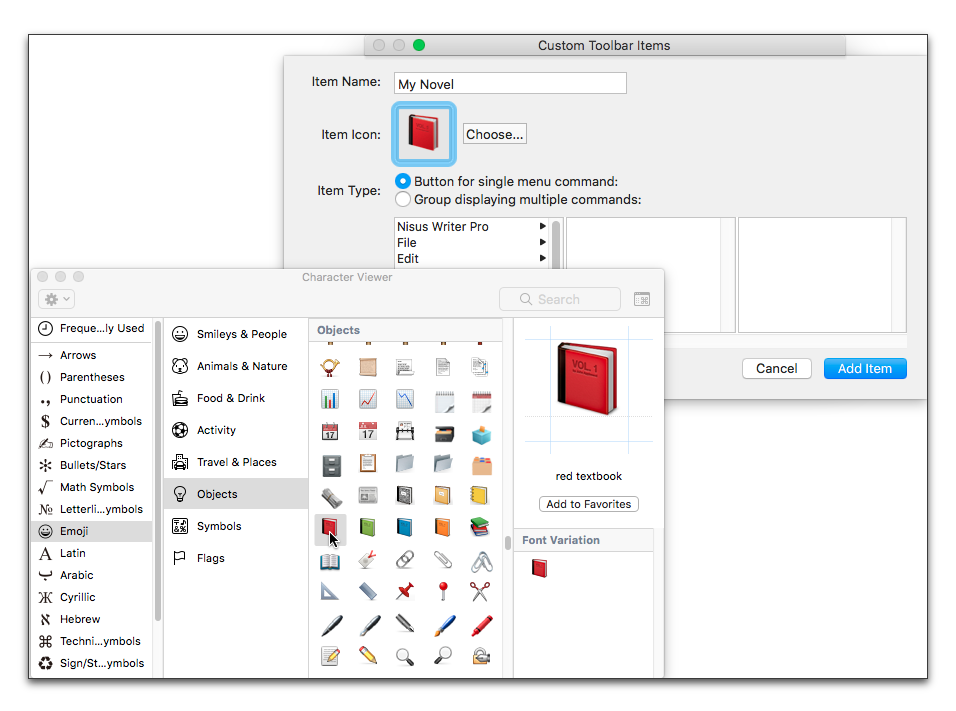
Figure 526
Using the Apple Character Viewer to enter an emoji in the Item Icon field
▷ If you have an image on your Clipboard you can click Paste Clipboard to enter that image in the Item Icon field.
▷ Click Use Image File… which opens a variant of the Open dialog. Navigate to the location where you stored the image you want to use and click Open as illustrated in Figure 533.

Figure 527
Selecting your own image file for a custom Toolbar item
1. Click the appropriate radio button to determine if the Item Type is to be a
▷ Button for [a] single menu command, or for a
▷ Group displaying multiple commands.
For example:
The Navigator button on the Toolbar represents a single menu command (show or hide the Navigator sidebar). If you want a single menu command continue with step 2 below. The dialog is preset for a single menu command.
The List button displays a menu of many commands. If you want a menu of commands continue with step a below.
2. Using the menu browser at the bottom of the dialog, select the menu command you want to associate with the button as illustrated in Figure 528.
In this case: File > Open from Document Manager > Currently Open > Black Beauty.
You may want to create a button for a group displaying multiple commands,
a. Click the radio button Group displaying multiple commands.
b. Click the + (Add new item.) button in the lower left corner of the dialog and continue with step 2 above: using the menu browser at the bottom of the dialog, select the menu command you want to associate with the button.
d. Continue with steps b and c above until you have collected the commands you want associated with this button.
When you have collected all the commands you want continue with step 3 below.
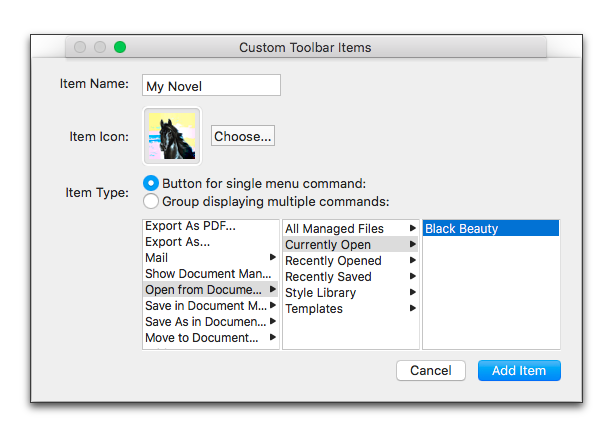
Figure 528
Selecting the command associated with the button
A new dialog listing your custom Toolbar items appears as illustrated in Figure 529. Any new items need to be added to the Toolbar after they have been created.
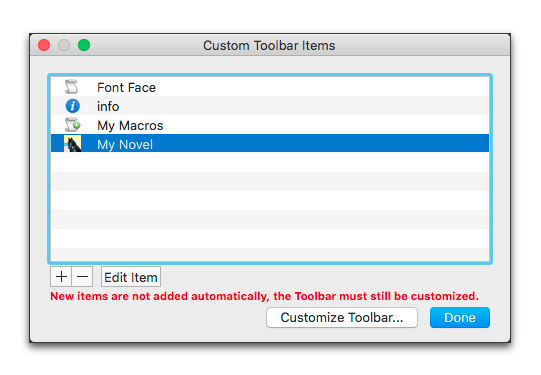
Figure 529
The Custom Toolbar Items dialog
5. The Customize Toolbar sheet appears and you can drag the new icon to any position on the Toolbar you want. As illustrated in Figure 530, the new icon appears at the bottom rightmost area of the available buttons for the Toolbar.
6. When you are satisfied with your choices, click Done to dismiss the Customize Toolbar Sheet and return to your documents.

Figure 530
Moving the custom icon from the repository to the Toolbar
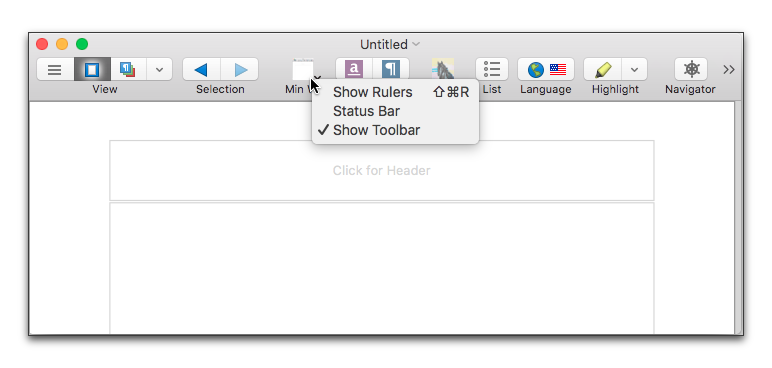
Figure 531
A custom group button on the Toolbar
☞ Beware, that if you assign an icon to a file on the Currently Open, Recently Opened or Recently Saved submenus of the menu File > Open from Document Manager, that file must appear on the list. You are probably best served by assigning such files to a special group such as “Current Projects” and linking the icon to the file’s name in that submenu. The Document Manager is explained in detail beginning on page 80.
You might want to change the menu command associated with a custom toolbar item, or change the image that appears on the Toolbar.
1. Choose the menu command: View > Toolbar > Manage Custom Toolbar Items….
2. Select the item you want to edit in the Custom Toolbar Items window.
You can add or subtract commands to or from the group, or rearrange their sequence by dragging them, as illustrated in Figure 532.
4. When you are satisfied, click OK.
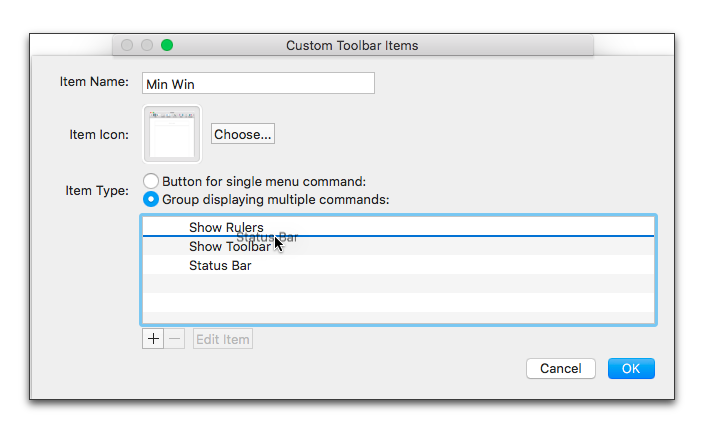
Figure 532
Editing the “Min Win” (minimum window) custom group button on the Toolbar
If you find that you no longer need or want a particular icon on the Toolbar you can remove it.
1. Choose the menu command: View > Customize Toolbar….
2. Drag the appropriate icon from the Toolbar.
When you release the mouse button the alert illustrated in Figure 533 appears.
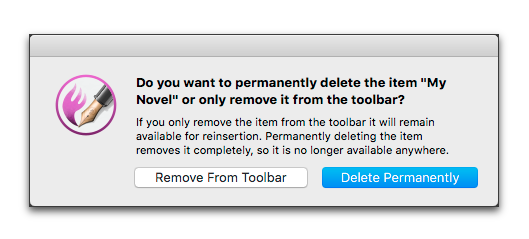
Figure 533
The remove icon from toolbar alert
► Click Remove From Toolbar to remove the item but keep it available to restore in the Customize Toolbar sheet.
► Click Delete Permanently to completely remove the icon from your version of the application.
As illustrated in Figure 534 you can also delete a custom Toolbar item from the Custom Toolbar Items window.
1. Choose the menu command: View > Toolbar > Manage Custom Toolbar Items….
2. Select the item you wish to remove.
3. Click the - (Remove selected item) button in the lower left corner of the dialog.

Figure 534
The delete custom toolbar item alert
| Previous Chapter Change the Display of the Toolbar |
<< index >> |
Next Chapter Customize the Dock and its Palettes |