

Before you can edit an image you’ll need to select it.
An inline image that is not selected appears with no additional markings, unless you have the “show invisibles” option enabled.
Figure 184 Left: an unselected folder icon image.
Right: an unselected folder icon image with Show Invisibles enabled.
To select an inline image just click it. Once an image is selected you’ll see square selection “handles” appear at each corner of the image, as shown in Figure 185 below.
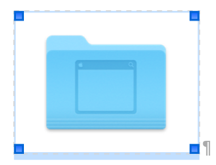
Figure 185 A selected folder icon image.
There are two ways to resize an image: freeform via the mouse or numerically via text input.
⚠️ Resizing an image inside of Nisus Writer Pro will never reduce the amount of space (storage on disk) required for an image. Nisus Writer always preserves all image data.
Resize an image using the mouse
1. Select the image by clicking on it, as shown in Figure 185.
2. Drag any of the selection handles until your image is the size and shape you want.
By default resizing an image using the mouse will be proportional (the image will retain its aspect ratio). To prevent proportional resizing press and hold down the Shift key as you drag the selection handle.
1. Select the image by clicking on it, as shown in Figure 185.
2. Use the menu Insert > Image > Resize Image…
→ The image resizing dialog appears (see Figure 186 below).
3. Enter the desired width and height.
4. Click the Resize button to confirm the new size and apply it.
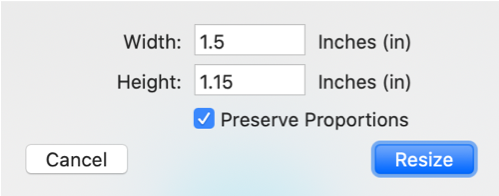
Figure 186 The image resizing dialog.
Inline images can also be resized numerically using the Shape Metrics palette.
Restore an image’s original size
If you resize an image and later decide you want to restore its natural size and proportions, as stored in the original image data:
1. Select the image by clicking on it, as shown in Figure 185.
2. Use the menu Insert > Image > Resize Original Size.
This command is also available from the contextual menu, if you right-click the image.
Restore an image’s original proportions
If you generally want to keep an image’s current size, but need to restore its original proportions:
1. Select the image by clicking on it, as shown in Figure 185.
2. Use the menu Insert > Image > Resize Original Proportions.
This command is also available from the contextual menu, if you right-click the image.
You can crop an inline image so not all of the image appears in your document. Cropping allows you to clip or hide the outer edges of an image.
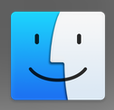
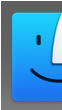
Figure 187 Left: the macOS Finder app icon.
Right: the same icon but cropped to hide its right side.
To crop an image:
1. Select the image by clicking on it, as shown in Figure 185.
2. Hover the mouse over any of the image’s four edges (eg: the top edge) until the mouse cursor changes to a resizing arrow.
3. Drag the edge inward to increase the amount of cropping.
⚠️ As with resizing, cropping an image inside of Nisus Writer Pro will never reduce the amount of space (storage on disk) required for an image. Nisus Writer always preserves all image data.
If you previously cropped an image, but want to restore its full display you can remove all cropping:
1. Select the image by clicking on it, as shown in Figure 185.
2. Use the menu Insert > Image > Remove Cropping.
This command is also available from the contextual menu, if you right-click the image.
You can add padding around an inline image, to increase its distance from neighboring characters and adjacent lines of text:
1. Select the image by clicking on it, as shown in Figure 185.
2. Use the menu Insert > Image > Padding…
→ The image padding dialog will appear (see Figure 188 below).
3. Enter the desired padding amounts, specified in points, and click OK to confirm.
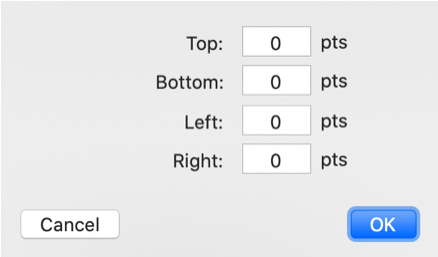
Figure 188 The image padding dialog.
You can adjust the opacity of any inline or floating image in Nisus Writer Pro.
1. Select the image by clicking on it, as shown in Figure 185.
2. Choose a new opacity from the menu Insert > Image > Opacity.
For example, choosing 20% will show the image as mostly transparent.
You can also use the Shape Fill palette to adjust the opacity of inline images.
You can add borders to inline images and customize their line style, line thickness, and color:
1. Select the image by clicking on it, as shown in Figure 185.
2. Use any one of the following menus:
a. Insert > Image > Border Line.
b. Insert > Image > Border Thickness.
c. Insert > Image > Border Color.
Image borders can be more easily configured using the Shape Stroke palette.
Images created by apps that support LinkBack can be easily edited externally, outside of Nisus Writer. Simply double-click any LinkBack image to open it in its originating app. Any changes you make to the image externally will be automatically shown in your Nisus Writer document.
For more details see the section “Use LinkBack”.
Apple provides a system-wide image editing feature in macOS called Markup. You can use Markup to crop, rotate, annotate, and otherwise edit images in a variety of ways. To activate Markup editing mode:
1. Click an image in your document to select it, being careful to keep the mouse cursor within the interior of the image.
2. Allow your mouse to hover within the image for a moment.
→ An arrow indicator appears along the right side of the image (see Figure 189 below).
3. Click the arrow indicator to show a contextual menu.
4. Choose the command Markup from the menu.
→ You will enter Markup mode (continue reading after Figure 189 below).
⚠️ The appearance of the indicator arrow alongside an image is unfortunately finicky. If you have trouble getting the indicator to show, please deselect the image and try again, paying attention to keep the mouse entirely within the image when you click to select it. For some reason the indicator rarely reappears after the mouse leaves the interior of the image.
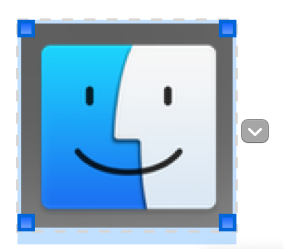
Figure 189 The Markup indicator to the right of a selected image.
After you activate the Markup command from the contextual menu you will enter Markup editing mode, which presents itself as a popup window within the current app:
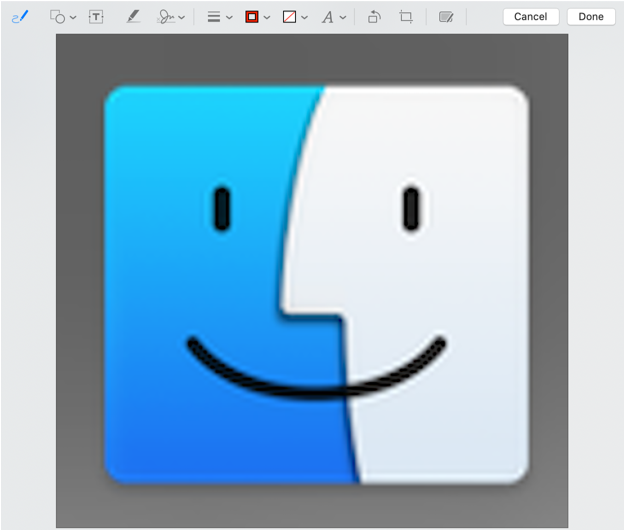
Once the Markup editor is visible, use the toolbar along its top edge to edit your image. The exact set of tools available within the Markup editor depends on macOS and your system version.
When you have finished editing your image, click the Done button. The changes you made will be reflected immediately within your Nisus Writer document.
⚠️ Changes made by the Markup editor are permanent and may be lossy. You can think of using Markup like deleting the image and inserting a different image. It’s still possible to use undo while the document remains open, but Nisus Writer will no longer have access to the image’s original data. For example: if you use Markup to crop an image you can no longer use the remove cropping command to reveal the full image.
| Previous Chapter Extract Text from an Image (OCR) |
<< index >> |
Next Chapter Work with Floating Images |